Gelato Skirt Gift

April 5, 2012
Gelato Ruffle Skirt

Gelato Ruffle Skirt

It’s birthday fever around here, lots of birthday presents in the works.

In my mind I’ve been wanting to make a little layered skirt for my eldest’s best-friend for a while. As her birthday was coming up I was on the hunt for some sweet yellow fabric, as yellow is her favourite colour. This is probably the main reason I think the girls are best friends! hahah. Little kids are so awesome.

‘You love yellow?’

‘Yellow is my favourite colour too’

‘Wow, lets be best friends’

Ahhh, the innocence is so adoreable! Oh and they ‘had me at Yellow‘ too!

yellow labels

yellow labels too!

I found some adoreable fabric, but when I got it home I found the piece they had cut for me had marks all over that. Don’t you hate that?! When I went back to get more it had all sold out.

But that’s ok. While I was wondering around I saw that there was a whole new lot of Lawn in stock in lots of pretty colours. I was sold and in the end I think what I came up with was better!

ruffle skirt

ruffle skirt

Lucky for me I hardly had to do any work figuring this one out. Three days before I was about to start Dana must have read my mind because she posted this post. Boy I love her blog! So many times I’ve gone to do something and she’s already gone ahead and made it easy for me!

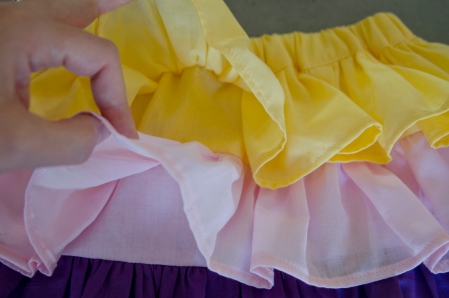
Of course I always have to tweak things! So I followed the general construction but I changed the sizes of things. For my skirt I didn’t want to see any of the ‘connector pieces’ like you could see in the Dana version so I made sure my ruffle pieces were 1.5cms longer than the connectors. I think this was particularly important as I was using three colours and it was in Cotton Lawn which is a bit transparent. A quality that I love because it makes it so light and bouncy but I wanted to make sure each colour held its own when layered.

careful layer construction

careful layer construction

I also had to match up my pieces carefully. When stitching you have to make sure the connector piece that sits under the ruffle is the same colour. Finally because I hate raw edges (yeah, my own personal issue!) I had to roll hem each strip! lots of work but worth it I think!

gelato ruffle skirt

gelato ruffle skirt

She’s been wearing her gift to kindy the last few days so I’m pretty sure she loves it as much as I did. I have two more requests for these (I wonder by who!!??) so I might have to line all three of them up and take a picture when I’m done!! Rainbow, gelato ruffles everywhere!!

ruffle skirt made from Cotton Lawn

bouncy ruffle skirt

Modern Baby Boy Quilt

March 31, 2012
modern baby quilt

modern baby quilt

Remember the bunting I made recently? Well here is the matching bedding! Inspired by this gorgeous quilt that Holly from Bijou Lovely made for her friend Kelly, who came up with the design. I made up the dimensions myself as Holly hasn’t posted a tutorial or a pattern on it yet (but I think she plans too). I loved its simplicity and fortunately its simplicity made it easy to figure out a block size that suited our fabric choices.

Modern Baby Quilt

Modern Baby Quilt Front

modern baby quilt back

Modern Baby Quilt Back

When I found out the plan for the baby’s room was aqua/turquoise kind of tones I knew that the Backyard Baby fabric range would be perfect. I got my friend to choose her favourites from there and I added to those with complimentary soilds, dots and stripes from Spotlight.

windy day, backyard baby

I love this windy day one and its little heart carved into the tree trunk and eggs in the nest in the tree branches, oh and the birds with scarves! cute cute cute.

dots, backyard baby

dots, backyard baby

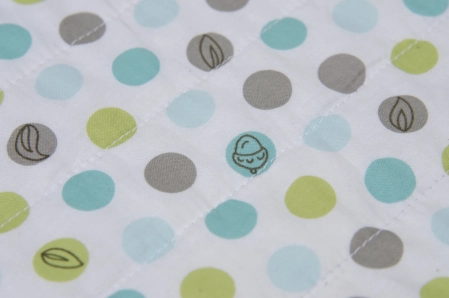
how sweet are the acorns inside some of these dots?!

birch forrest, backyard baby

birch forrest, backyard baby

The beauty of birch trees aside, those little orange caps on the woodpeckers head! sweet!

Put all the fabrics together and I think it creates quite a nice modern baby boy colour pallet.

all together - a modern baby boy pallet

all together – a modern baby boy pallet

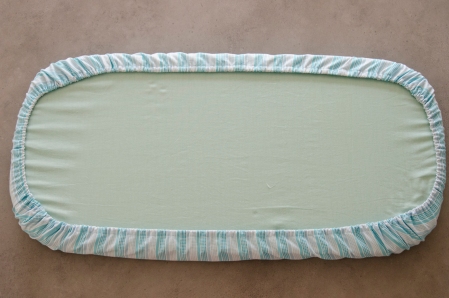
I also put together a new bassinet mattress and some fitted sheets. I just bought extra of some of the stripe fabric because it was the softest cotton I’ve felt in a long time. Like a brushed cotton or something. Perfect for bubs to rest his sweet little head. If you need to make your own bassinet bedding, because lets face it, its almost impossible to buy, you can! Its very easy.

Just take your mattress (I got this one cut at Clarke Rubber using the old mattress as a template) place it on top of your fabric. Trace its outline.

Measure the depth of your mattress, add 2.5cm to this. Now redraw your shape you just traced onto the fabric but keep this distance away from your original line. ie. if your mattress plus your seam allowance is 7.5cm, draw your shape 7.5cm larger all the way around. Cut it out. Measure the perimeter of the edge of your fabric, three quaters of this distance will be your elastic length. Sew a casing seam all the way around and thread it with thin elastic about 5mm x 3/4 the perimeter of your original edge. Stitch to secure. Done! Now make a couple, because you know babies, they aren’t all softness and sweet smelling. Spew and poop. Yep.

matching bassinet mattress and fitted sheet

from underneath – bassinet mattress and fitted sheet

goes beautifully with the quilt

goes beautifully with the quilt

I hope his quilt is a place for playing and for snuggles for many years!

baby quilt - made with love.

baby quilt – made with love.

Japanese Bubble Skirt

March 23, 2012

A little friend of ours is turning 5! Currently this sweet little number is winging its way to her house.

Japanese Pattern Skirt

Japanese Bubble Skirt

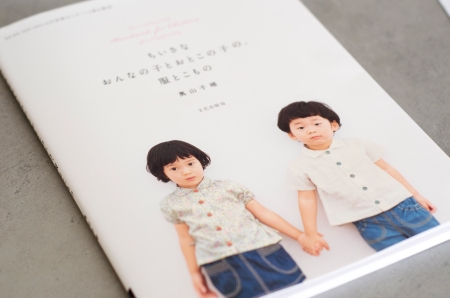
Its a really simple cute as a button pattern from this Japanese kids clothing book.

Japanese Pattern Book

Japanese Pattern Book

I actually had a few issues with the pattern itself. Well I think that was the problem. If my guessing at what the Japanese means is right (and its probably not) some of the measurements are way out. In the end I took the general idea of the skirt and made most of it up. I really hope it fits!! I think it will be the perfect little skirt to jump around in with leggings and boots in the change of season that she’s about to experience.

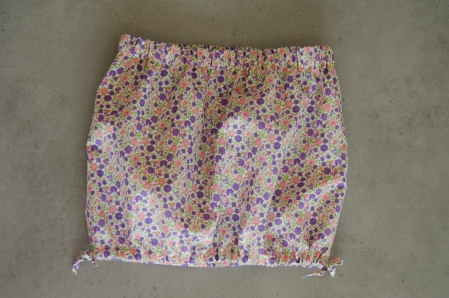
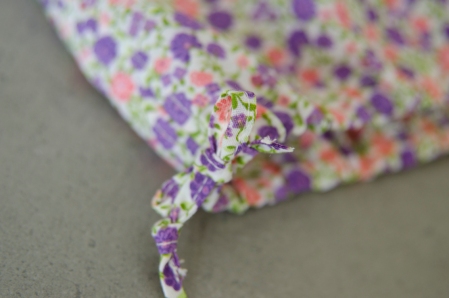
Bows make the skirt bubble

Cute Little Bows

The skirt sports cute little bow ties at the bottom which gives it its bouncy look.

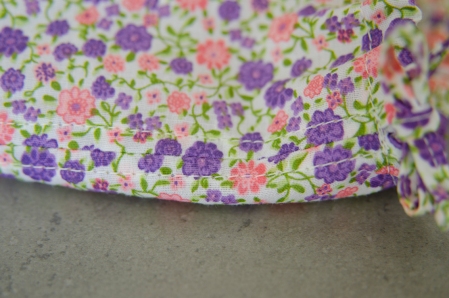
French Seams

French Seams

And the pattern calls for french seams which I think really finish off this simple skirt beautifully.

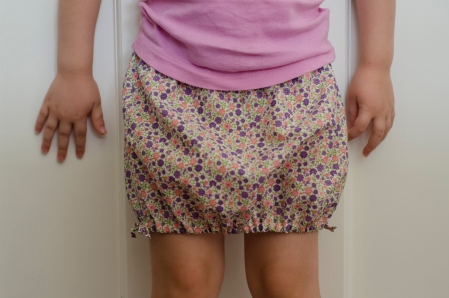
Japanese Bubble Skirt

Japanese Bubble Skirt

and this is me making my oldest try it on so I felt like I was at least close to the right size seeing I fiddled with it so much. I actually think it should sit a little shorter so hopefully it’ll fit perfect!

Crayon Super Star

March 21, 2012
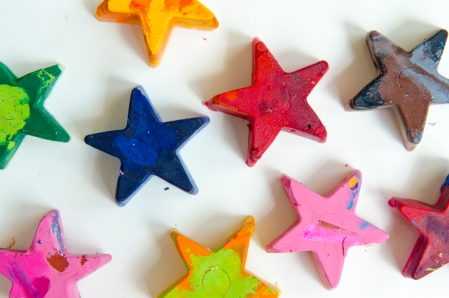
Crayon Stars

Crayon Stars

I’ve been coming up with little projects to do with my youngest whilst Big Sister is at Kindy.

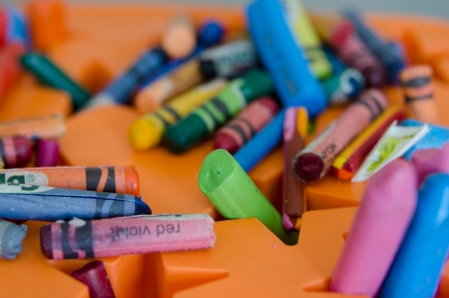
re-use crayon bits

stubby crayons - time for a new look

I’ve been meaning to try out melting left-over crayons into new shapes for a while now. We finally gave it a go. I quickly browsed the net for ‘recipies’ but it appears a bit hit and miss. So I started with good ol Martha and went from there.

score the wrapper

A few people on the net suggested using a stanley to score the crayons to get the wrappers off… good tip. My good tip is then give it to one with itty bitty fingers and let her go to town.

little fingers unwrap crayons well

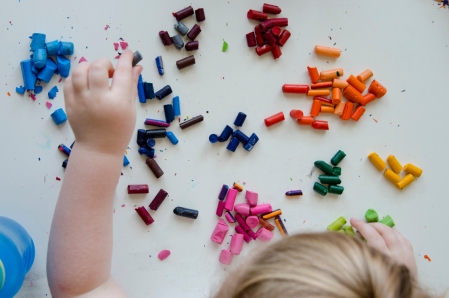
Once you’ve got all the crayons unwrapped break them into small pieces and then use them as a colour sort activity. We had a heap of fun with this part!

a great tool for teaching colour theory

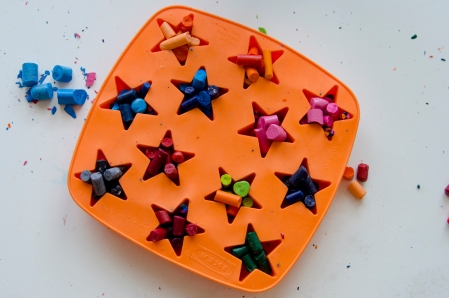
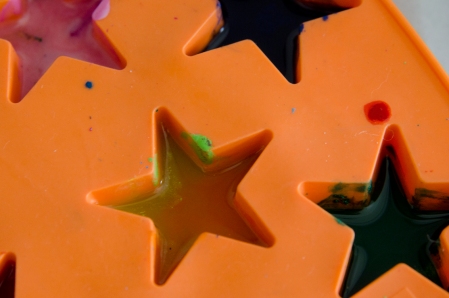
then put your crayon bits into a container. I just used an old ikea ice tray.

Pretty sure you cant do this more than a few times with the same tray, and I’d be real careful, but it worked for us. I threw it out after (I think they only cost $1.)

You can group your colours together or mix them up. Some of my favourites were the ones where we blended complimentary colours.

place broken crayons in container

place broken crayons in container

I then placed it on a baking tray lined with baking paper, just in case it all went pear shaped! Then it went in the oven.

wait patiently...

Don’t worry, our oven is cool touch. Martha suggests 10-15minutes at 150C but I found that 5minutes melted them just fine. (I was being really careful not to over heat the ice cube tray too.)

melted crayon

melted crayon

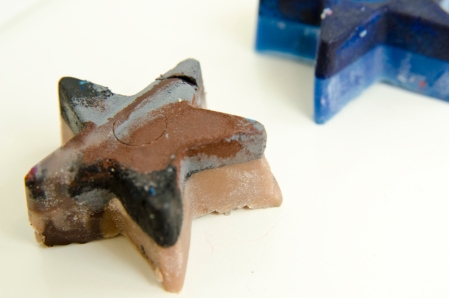
melted crayon is all glossy and almost clear looking. Allow it to cool to opaque. I also put ours in the freezer for about 20minutes, I read it helped pop them out. Now this is the part where I tell you the stars work quite well but I think a more solid shape, like a heart, would be easier to pop out. Some of the points on a few of the stars cracked off as they were quite difficult to pop out. Still we got some great stars with interesting colours and fun new crayons to draw with. Here are a couple of my favourites:

star wars star!

Doesn’t this make you think of space? You could make them as party gifts for a star-wars party!

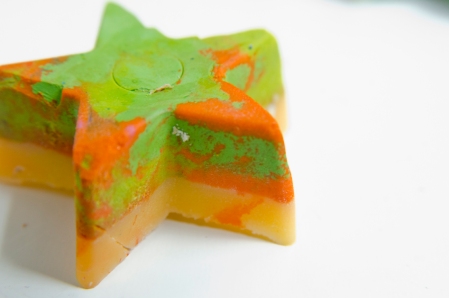
motley

I’m always a fan of anything with a bit of yellow!

pretty blue

You can see this was one of the ones where a point got cracked off. It was so pretty though.

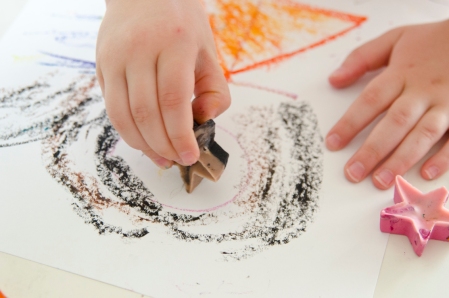
And for the ultimate test….

They draw great!

They draw great!

wait for big sister to come home and surprise her with a fun present, then get drawing!

Re-upholstered Verge Find

March 17, 2012
bar stool rescue

bar stool rescue

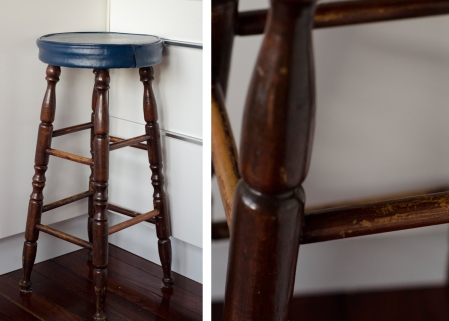
The week we first moved into our house there was a verge collection. On one of his 6billion-Super-Awesome-help-us-move-trailer-trips my Dad found 3 bar stools on the side of the road. They used to look like this:

bar stool - before

Bar stool - roadside find

They were actually worse than this, legs and support bars had fallen off completely, but it was all glued back together by my hubby and Dad before I could blink.

We had never had a breakfast bar before and so we didn’t own any stools. I think the boys were so tired from all the moving they were dying for somewhere to sit. Poor things had to glue their own stools!

Well, they stayed like this for quite some time, secure but not pretty.

new foam - Clarke Rubber, Fabric - Ikea

new foam - Clarke Rubber, Fabric - Ikea

Finally sick of the dogy look of them I resolved to redo them.

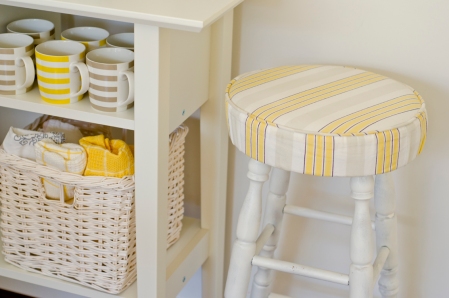
I’m trying to have some pops of yellow in my kitchen for a bit of happiness and fun and thought the bar stools would be a good place to ‘pop some yellow!’

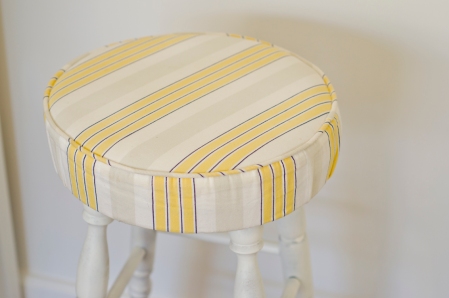
I found some yellow and grey stripe fabric at ikea, could it be more perfect, or better priced? Plus it ties into my grey bench tops perfectly. I then resisited the urge to spray paint the legs yellow and got some white spray paint.  I finally went to Clarke Rubber and got them to cut some new foam to size for the top.

Then I snapped my fingers (hahahah)…ok I fought with my nail gun, sewed up a storm and several sheets of sandpaper and cans of spray paint later….

Ta Da…..

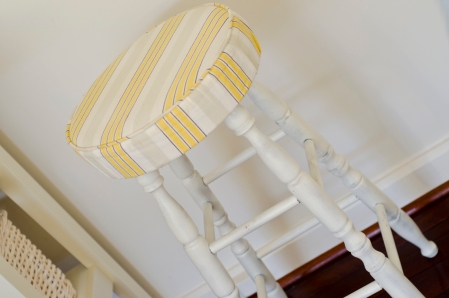
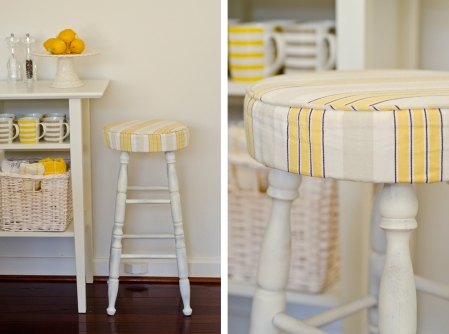
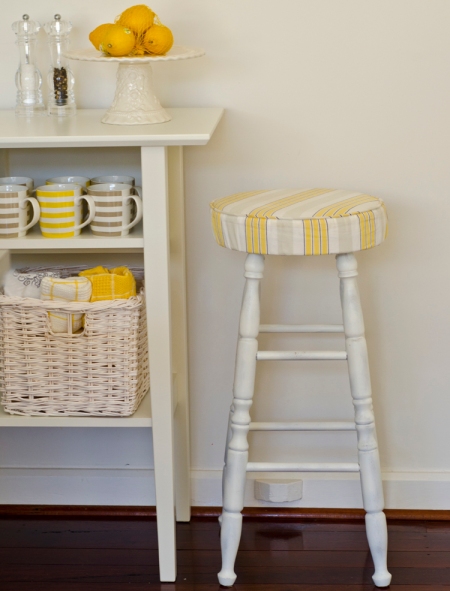
Yellow and white upholstered kitchen bar stools

Yellow and white upholstered kitchen bar stools

refinished yellow and white bar stools

refinished yellow and white bar stools

I’m loving how happy they are and how comfy the new cushions are! I wish I’d bought more of that fabric though, there’s none left at my ikea!

Yellow and grey kitchens

Yellow in the kitchen

Simple Dress Request

March 12, 2012

Image

Now that my oldest is a kindergarten I often get to go to the fabric store with just one child in tow. Which is sometimes easier and sometimes not.

On our last trip she did not want to be in the trolley, so I let her wander around looking at all the fabric. (normally when there is two of them doing this its more like a crazy game of hide and seek, with me telling them off every 5 seconds…. yeah go on judge me, before I actually had kids I would have judged me too!) With a little more focus than usual, she was taking time to actually look at the fabric rather than hide behind it.

Image

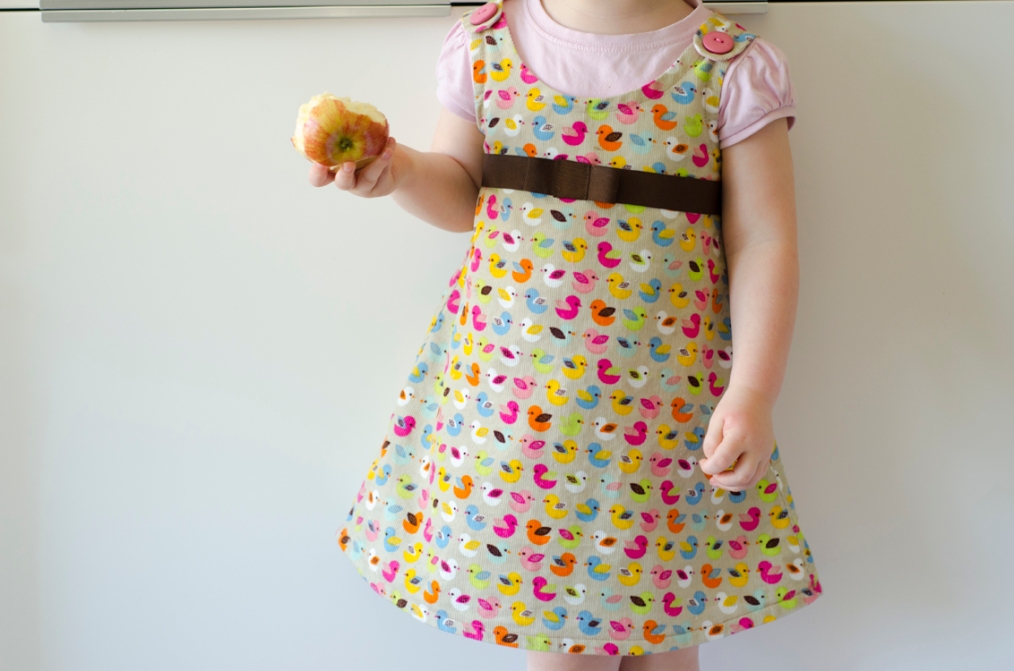
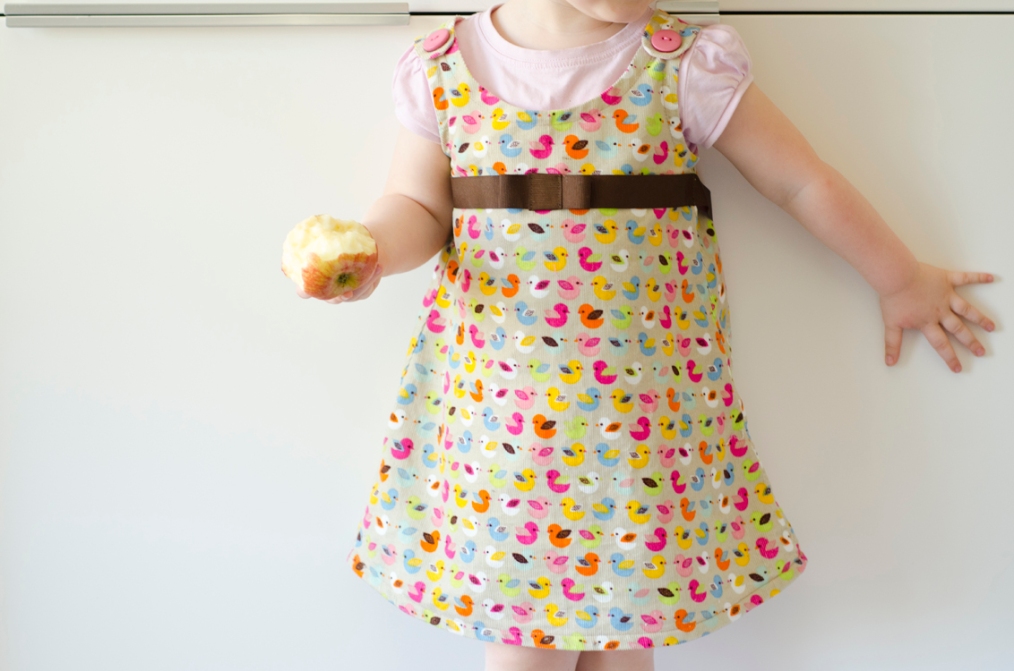
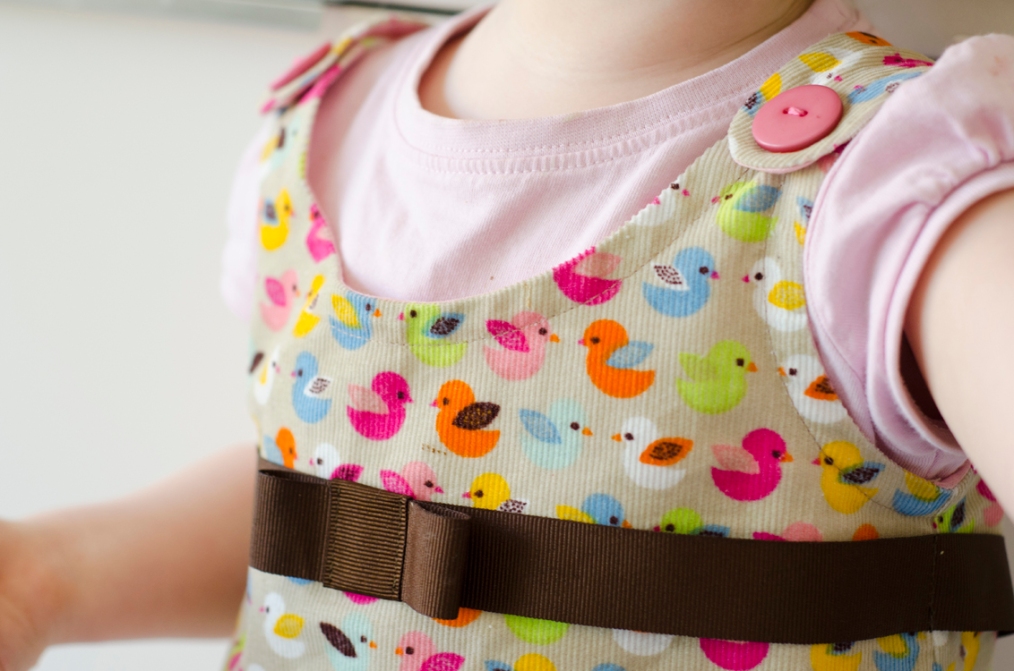
After I caught up with her I found her stroking some baby whale with Lots of Colourful little birdies all over it. Looking up at me with her big eyes she said ‘Mama make me a dress?’ Not really in love with the fabric but totally in love with the request I suggested a couple of other fabrics near by, but boy was she adamant. That was the one she wanted. As we were lining up to buy a meter she also requested a little squashy ducky to go with her dress. I drew up a pretty simple A-line dress pattern and added a few fun details and its not too bad!

Image

I haven’t got the softie done yet, which she’s pretty dissapointed about but I do have the dress. She’s loving it, its actually hard to talk her into wearing anything else. So whilst its not my favourite thing ever her love for it and her involvement in it makes it one of the best projects I’ve ever done.

Baby Bunting

February 10, 2012
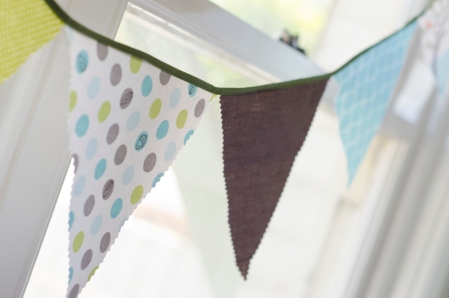
Aqua, Green, Grey Bunting

Aqua, Green, Grey Bunting

A friend of mine is about to have a baby boy. I’m sure she’s completely sick of me asking her if she’s had it yet and if she would hurry up. People made those jokes a lot when I was pregnant and I wondered why they never tired of them. Now I’m on the other side (being painful and making lame jokes) I think its the non-pregnant persons way of saying ‘oh yay I’m just so totally excited you are about to have a baby’!

Anyway as a gift I’m making her some bassinet bedding, because its hard to buy bedding for a bassinet and its a fun way to add decoration to a baby room. She had her baby shower on the weekend and I’m not quite done with the bedding. (Maybe I should stop wishing the baby was out until I’m done!)

As a little shower gift, a teaser of what’s to come, a way to add some extra decor to the party (and later baby’s room) I made some bunting.

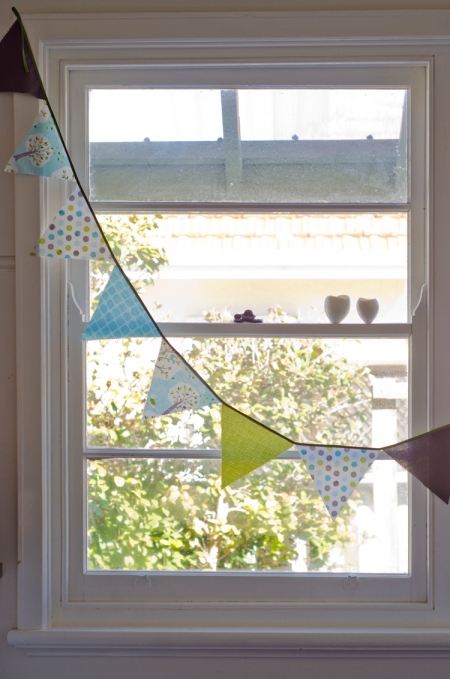
Bunting in the window

Bunting in the window

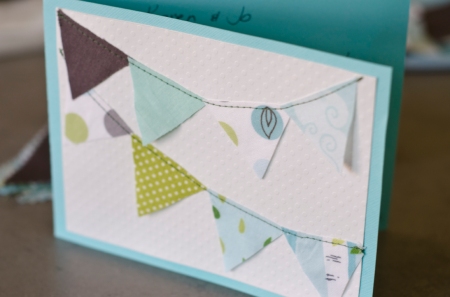
These are pictures of it hanging in our kitchen window. I was having so much fun at the party I totally forgot to take a picture of it with all the other fun decor. I did however make her a matching bunting card.

aqua bunting card

aqua bunting card

Hopefully I’ll be posting the bedding soon too! Before baby comes!

Loving the fabric she chose to use its, Backyard Baby by Patty Sloniger, I got it from Sew Mama Sew.

Kindy Bag

February 9, 2012
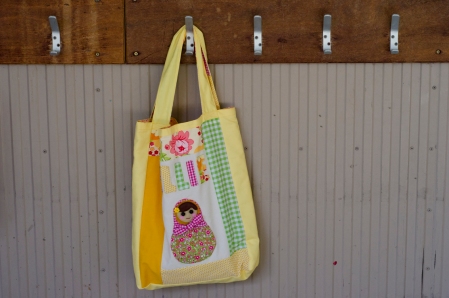
Kindergarten Bag

Kindy Bag!

So last week my oldest started kindergarten. The school requested we make them a two handled, open, shoulder bag. A little curious, I thought, as I was all set to make her a cute back pack like this one by Made-by-Rae. Still I went along with it. A friend of mine suggested it might be easier for them to get their stuff in and out of. Plus, she had all these gigantic school supplies that would never fit in that cute little pack.

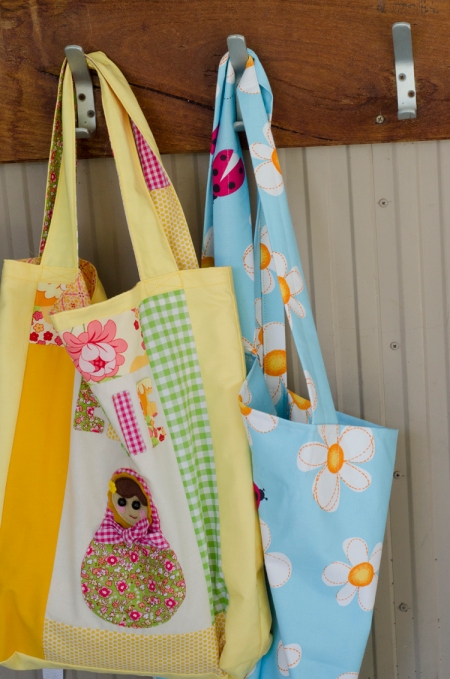
Kindy Bags

Her bag, next to her best-friends bag, cute!!
I ordered some cute fabric online but it was slow in coming and I still might make her one, so I kind of wanted to keep it for its original purpose! Instead, I set my self a challenge, only use fabric I already had. It was a great idea! Sometimes I find putting boundaries on your creativity is a good thing.
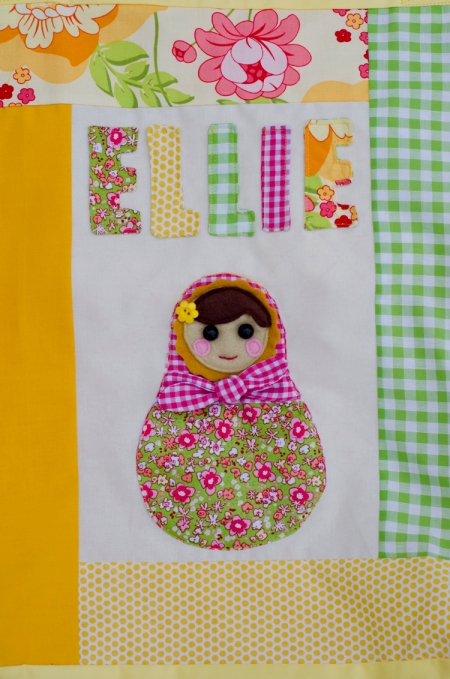
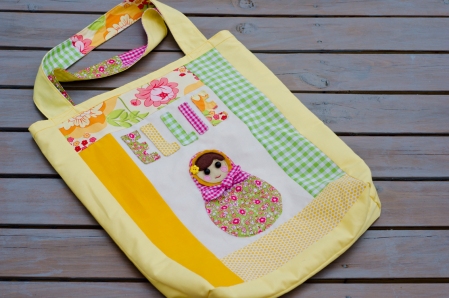
Babushka Doll for the Center Panel

Babushka Doll for the Center Panel

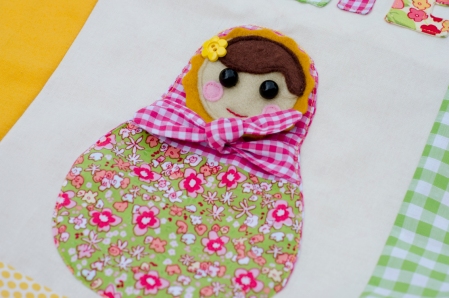
A big rectangular bag can be a bit dull. So I thought a bit of fabric piecing would add interest as well give me a way to include some of her favourite fabrics and colours. She’s pretty keen on Babushka Dolls at the moment. So I thought using that idea as a motif would be fun. I also thought I could make a collection of bags one day (when I find the time) in various sizes. School bag, lunch bag, pencil case… see where I’m going?

Babushka Bag

Babushka Bag

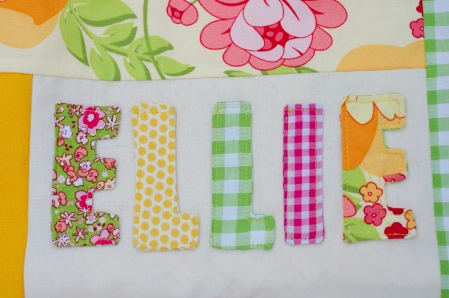
I used a ‘cheats turned-applique’ technique I just sort of invented in my brain but I’m sure I’m not the first. Its where you sew together two pieces of fabric the shape of what you want, right sides together. Carefully cut into one layer and turn right side out. After you’ve ironed it you’ll have a fray-less object to applique! I used the same technique for her name.

Non Fraying Name Applique

Non Fraying Name Applique

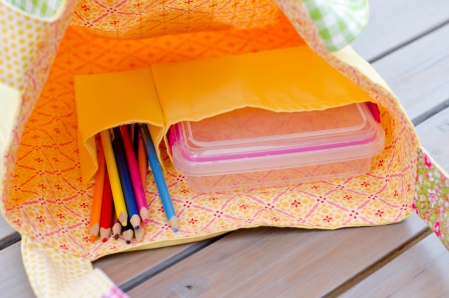
Finally, I stitched the front panel onto a yellow backing to make the rest of the bag and then lined it. Making sure I included some box pockets for lunch and pencils.

Box Pleat Pockets

Box Pleat Pockets

She looked super cute with her bag getting ready for Kindy, and there was lots of playing with it before she actually started school. I do think I’ll end up carrying it most of the time! Isn’t it always the way!

Kindergarten Bag

Kindy Bag

Tutorial: Make an Australia Day Shirt

January 26, 2012
Iron On Australia Day T-shirts

Australia Day T-shirts

Last year I made my girls cute Australia Day outfits. This year the day sort of crept up on me and at 4pm today after my eldest asked what she should wear to watch the fireworks I thought, why not? And decided to whip something up.

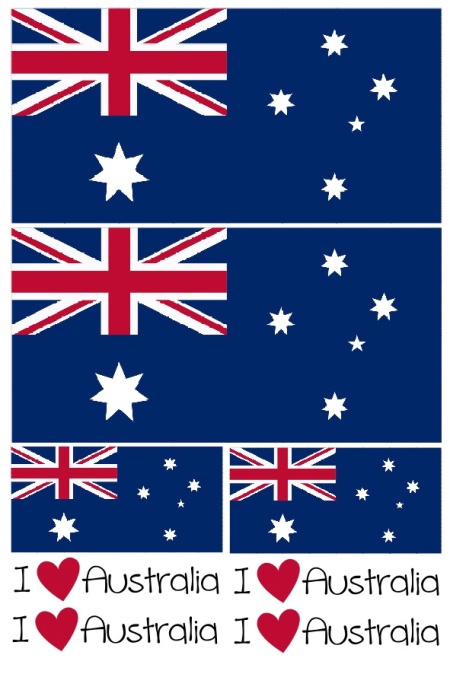
I had one 15cmx10cm Iron on T-shirt Transfer paper for an ink jet printer. I grabbed a few old singlets and t-shirts out of our drawers. I googled ‘Hi Res Australian Flag’ and then arranged the flag onto a 10x15cm file.

Australia Day T-shirt Transfers

Australia Day T-shirt Transfers

If you click on this link: AustraliaDayT-shirtTransfer you should get a hi-res version of that file. (In case you want to use it yourself!)

When printing dont forget to FLIP the image in your print settings before you press Print. Its under they Layout Tab in my printer settings. This prints a mirror image that rights itself when you iron it on.

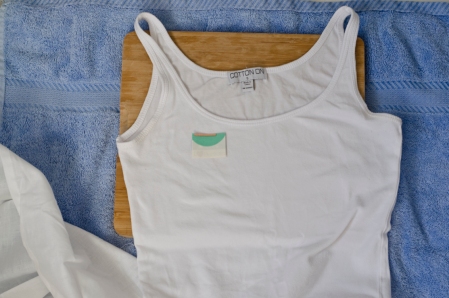
I set up on the floor of my laundry like this, towel on the floor, an old wooden chopping board, shirt, transfer paper and a top scrap of cotton fabric. Not on an ironing board.

using transfer paper

Shirt ready for ironing on transfer

I cut out one flag for each shirt and placed it where I wanted it to appear image side down.

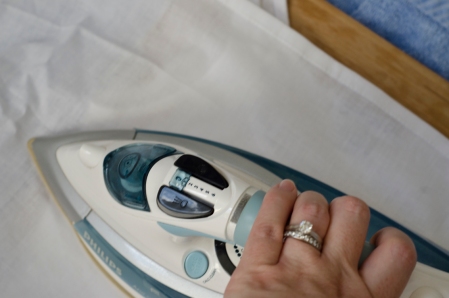
I then used that white bit of fabric to place over the shirt and transfer paper. I find this helps stop the shirt scorching as you have to hold the iron still over the transfer paper for 10-15 seconds. Its also best to only use iron on transfers on 100% cotton fabrics. I also apply a fair bit of pressure

how to iron on transfer paper

apply pressure and iron for 10seconds without moving

You can see the back of the paper that used to have green markings is now browny/orange. If it hasn’t gone brown I just remove the top fabric and iron directly onto the paper moving gently until the markings change colour.

iron gently until image on the back of paper goes brown

I then waited about 1minute until the paper backing was cool. Gently pulling it off. If you do it while it is still hot you get a more mat finish to your image, leaving it to cool makes it more glossy. But dont leave it too long or it gets sticky.

slightly glossy Australian Flag

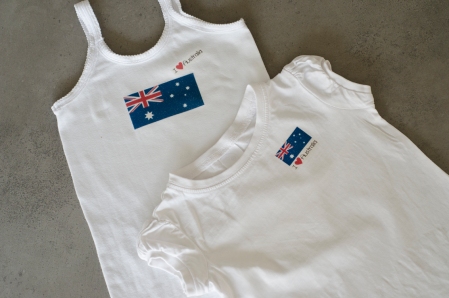
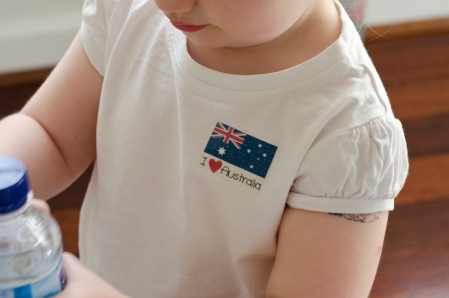
I Love Australia T-shirt

then pop them on your favourite poppets and go watch the sky show.

Australia Day T-shirt

Australia Day T-shirt

yes that’s a fake tat poking out from under that sleeve! We go all out!

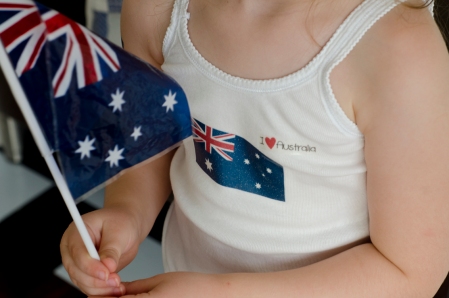
Australia Day Flag T-shirt

Make sure you have a flag to wave

This year the sky show was amazing. Not only were there great fireworks but God decided to put on the best electrical storm at the same time. Sure we got saturated but I think hardly anyone cared as the day was over 40 degrees, the cool rain was so refreshing as it poured down on us! Definitely a year to remember!

Of course these instructions may vary between different transfer paper suppliers. I’d always follow the instructions on your pack first.

Happy Australia Day! What did you do to celebrate being Australian and living in this awesome country?

A Boys Quilt – Children At Play

January 20, 2012
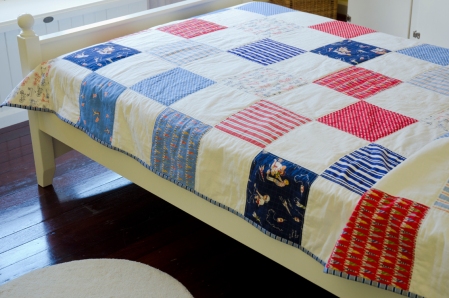
Boys Quilt

Boys Quilt

So a very important little man in my life turned one! To celebrate I wanted to make him a very special keepsake gift.

After showing his Mum the Children at Play range by Sarah Jane she fell in love with it as much as I did! I went ahead and used fabrics from both over the fence and after school collections.

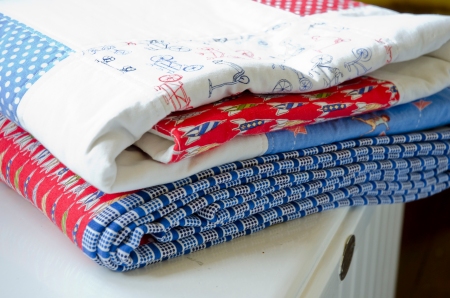
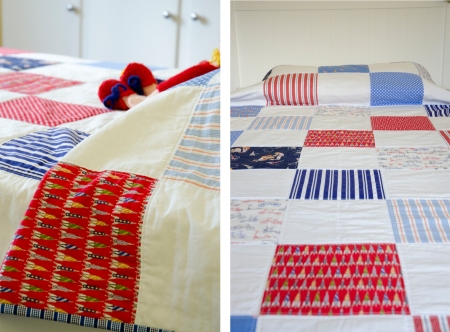
White, Red and Blue Boys Quilt

White, Red and Blue Boys Quilt

And that’s what I ended up with.

My friend loves White, and tempering all those traditional boy colours with a healthy does of white made the quilt a bit more modern. I love the fabric so much I had a hard time cutting into it so I just went with big squares so you could really appreciate the illustrations and colours of each one.

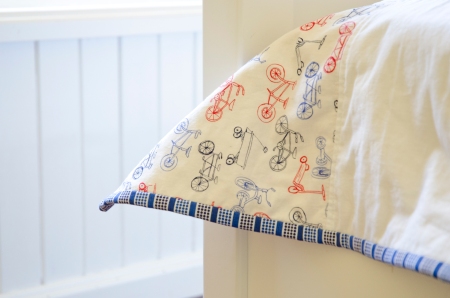
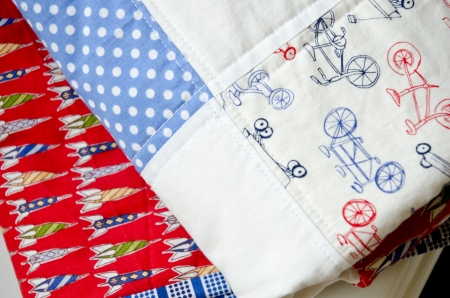
Sweet little bikes

Sweet little bikes

Rocket Ships and Dots

Rocket Ships and Dots

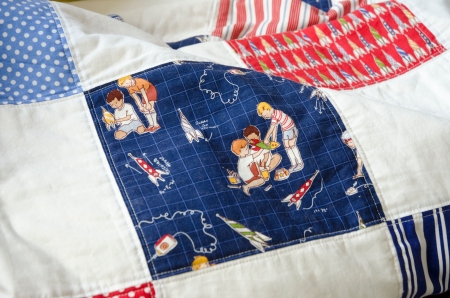
Boys Playing and Stripes

Boys Playing and Stripes

and I quilted it with a ‘train-track’ pattern, I don’t know if that’s what its actually called but that’s what I call it! Seems appropriate here!

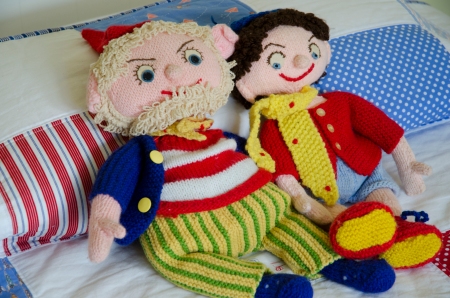
While I was taking pictures our Vintage Noddy and Big Ears (made for me when I was a child by my Grandma) wandered off their top shelf to have a little look….

Noddy and Big Ears, look pretty cute cuddled up on it too!

Noddy and Big Ears, look pretty cute cuddled up on it too!

Quilt Large Enough for a King Single Bed

waking up in this bed looks alright to me!

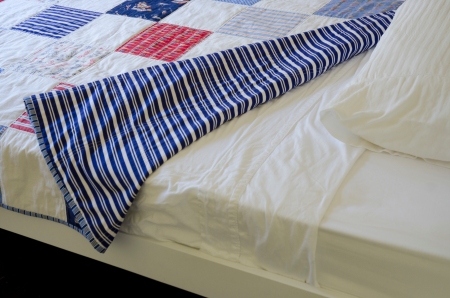
I backed it in England Swings – Butcher Stripe (have you seen the gorgeous video on her site! sigh) for a couple of reasons.

England Swings - Butcher Stripe Backing

England Swings - Butcher Stripe Backing

Firstly, it brings out the darker blue of the rocket ship illustrations, which I love and wanted to highlight. I also wanted something simple and masculine for the backing. I thought if he ever feels too ‘grown-up’ for the sweet illustrations he can just flip the quilt over and keep using it!

Finally, my Grandfather was a butcher and he trained my Dad as a butcher, when I was a kid on Saturday morning’s Dad would help out his mates in their butcher shops. I remember him wearing aprons with this exact print. I have fond memories of going to pick him up after the Saturday morning rush. Shuffling through the sawdust on the floors and being plonked up on the butchers paper (the only spot where the cold steel benches wouldn’t freeze my toosh) and been given a piece of polony to munch on while he finished cleaning up. So when I saw this fabric I couldn’t help but back this special quilt in something that evokes fond memories of my own childhood!

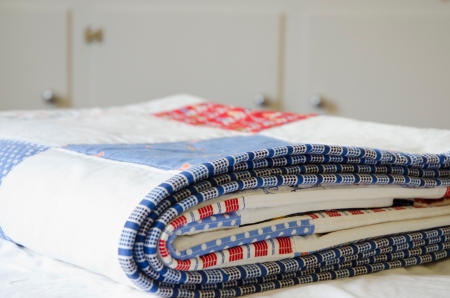
all hand bound for my little friend!

all hand bound for my little friend!

Finally I hand bound it in this sweet mid blue, dot and stripe fabric. I was having a hard time deciding between a dot and a stripe or maybe a gingham for the binding and then I found this! It tied all the blues together beautifully and I didn’t have to decide! The perfect binding fabric really!

As with any quilt lots of love and time when into this one and I’m so pleased with how it turns out! I hope it keeps him warm and safe for many years!